Installation of WordPress and Docker with your own local domain
In this article I will show you how to quickly and easily, without additional programs such as XAMPP or WampServer – place WordPress locally with your own local domain. This is possible with Docker, tool which allows to replace virtualization with containerization.
Containerization is a process that allows you to run the indicated applications in separate containers, which are separate instances of the runtime environment. Thanks to this solution, each container has its own memory area, network interface with IP address and disk area.
I have presented more or less what Docker is about, if you want to learn more I invite you to the article:
Docker for programmers, what is it?
Docker Desktop installation for Windows
In our case, we will operate on Windows. If you have Linux the installation is almost the same. Moreover Linux is in my opinion better and faster environment for Docker. In case of this project, which is only about creating WordPress image locally – we will operate on Windows.
We get Docker’s installer and run it on Windows
We are going to go to the site:
https://www.docker.com/products/docker-desktop
We select the system that interests us and download the installer.
We run the installer and install Docker Desktop for Windows.
Here you will find the installation documentation for Windows: https://docs.docker.com/docker-for-windows/install/.
After installation, run Docker Desktop for Windows.
Runrun WordPress with Docker Desktop for Windows
To run WordPress on our local machine with the help of Docker, we will use the solutions contained in the guide:
WordPress Local Development Using Docker Compose.
We are cloning the environment to fire WordPress on Docker
The first step will be to create a folder with our project. We create the folder in a selected location using Command Line:
1 | mkdir wp_with_docker |
Inside the folder we execute the command:
1 | git clone https://github.com/kassambara/wordpress-docker-compose |
In this way, we clone a ready-made WordPress environment to be fired by Docker. You can download it manually by entering the link:https://github.com/kassambara/wordpress-docker-compose
We install WordPress by Docker
Now that we have the basic configuration files cloned, we go to the project folder:
1 | cd wordpress-docker-compose |
We install our project with a command:
1 | docker-compose up -d --build |
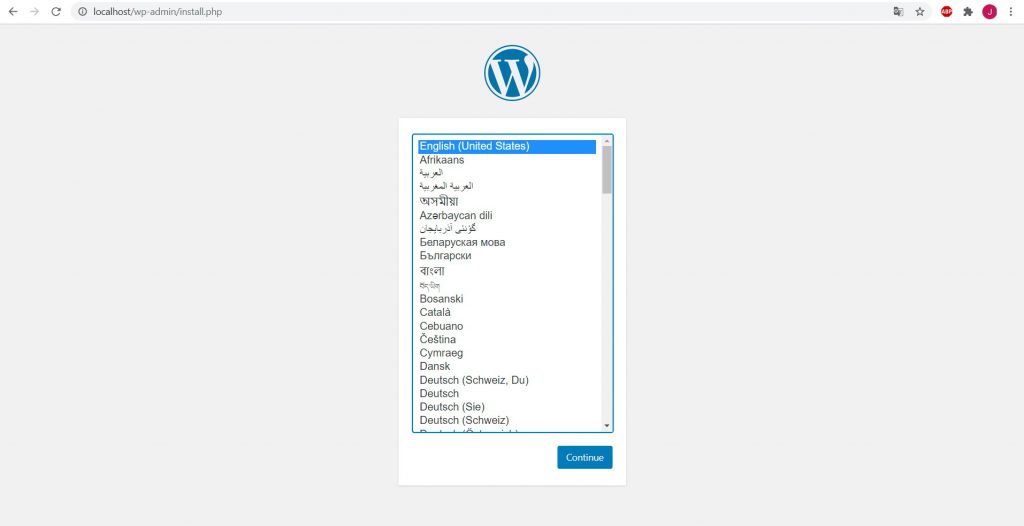
We can go to the WordPress installation on our local machine by going to the address: http://localhost
Private your own local domain – WordPress with Docker
If we would like our website to be fired by our own url, and not by http://localhost as a standard, we need to create and configure an .env file in our project folder accordingly. The second step will be to enter the new hostname in the windows configuration file: hosts
Configure the .env file of the WordPress project
In our wordpress-docker-compose project folder we create a .env file, and inside the file we include the configuration:
1 2 3 4 5 6 7 8 9 10 11 12 13 14 15 16 17 18 19 20 21 22 23 24 25 26 27 28 29 30 31 32 33 34 35 36 37 38 39 40 41 42 43 44 45 46 47 | # 1/ Project name ------------------------------------------------- # Must be lower-case, no spaces and no invalid path chars. # Will be used also as the WP database name COMPOSE_PROJECT_NAME=wordpress # 2/ Database user and password ----------------------------------------- # Set non-root database user if wanted (optional) DATABASE_PASSWORD=password DATABASE_USER=root # 3/ For wordpress auto-install and auto-configuration ------------------- WORDPRESS_WEBSITE_TITLE="My Blog" # URL: Use this for localhost WORDPRESS_WEBSITE_URL="http://mywppage.com" WORDPRESS_WEBSITE_URL_WITHOUT_HTTP=mywppage.com # Or this for online hosting (remove the # comment prefix) # WORDPRESS_WEBSITE_URL="http://www.example.com" # WORDPRESS_WEBSITE_URL_WITHOUT_HTTP="www.example.com" WORDPRESS_WEBSITE_POST_URL_STRUCTURE="/blog/%postname%/" # Website admin identification. Specify a strong password WORDPRESS_ADMIN_USER="wordpress" WORDPRESS_ADMIN_PASSWORD="wordpress" WORDPRESS_ADMIN_EMAIL="your-email@example.com" # 4/ Software versions ----------------------------------------------- WORDPRESS_VERSION=latest MARIADB_VERSION=latest # 5/ Ports: Can be changed ------------------------------------------- PHPMYADMIN_PORT=8080 # 6/ Volumes on host -------------------------------------------------- WORDPRESS_DATA_DIR=./wordpress # 7/ Healthcheck availability of host services (mysql and woordpress server) # Waiting time in second WAIT_BEFORE_HOSTS=5 WAIT_AFTER_HOSTS=5 WAIT_HOSTS_TIMEOUT=300 WAIT_SLEEP_INTERVAL=60 WAIT_HOST_CONNECT_TIMEOUT=5 # 8/ Used only in online deployement --------------------------------- WORDPRESS_WEBSITE_URL_WITHOUT_WWW=example.com PHPMYADMIN_WEBSITE_URL_WITHOUT_HTTP=sql.example.com |
Here we can configure the values that will set our WordPress accordingly. We want to change our project url. We will call our domain mywppage.com and add it in values:
1 2 | WORDPRESS_WEBSITE_URL="http://mywppage.com" WORDPRESS_WEBSITE_URL_WITHOUT_HTTP=mywppage.com |
Now we can move on to editing the hosts file.
We add a local domain in Windows
Go to the folder C:\Windows\Systems32\drivers\etc and edit the hosts file. It is important to open the file or start Command Line as administrator.
Add the line:
1 | 127.0.0.1 mywppage.com |
We are now launching our website http://mywppage.com/
After proper configuration, adding a user and logging in to our new page we get a view of the cockpit of our clean WordPress installation with Docker:
Summary
The Docker theme is a very broad one and often causes many problems for programmers. In this article you have learned how to correctly install CMS WordPress locally using Docker. It was quick and easy to install, but not always so easy. There are more and more complex and complicated configurations of bootable environments, but there are more and more ready-made solutions to make it easier for developers to use Docker.
If you like the article I invite you to visit our list of articles: Useful articles.


