Easier working with the docker – warden, wordpress installation
In this article I will show you how to easily install WordPress with the docker with the warden tool. This tool makes it easier for us to work on our project environment, preparing many things for us. Therefore, someone who does not know the docker well can easily prepare the environment for a project using CLI warden.
This tool is only available for Linux and macOS, but unfortunately it is not supported on Windows.
To read about the topic of the docker read our previous article – Installation of WordPress and Docker with your own local domain
We install CLI warden on Linux Ubuntu
We will work on Linux Ubuntu 20.04.1 LTS. First we have to prepare our system and install the appropriate packages with docker and warden.
Docker installation
Use the command to install the docker:
1 | sudo snap install docker |
Warden
Installation warden
We can carry out warden installations using Homebrew or clone from a repository.
Homebrew:
1 2 | brew install davidalger/warden/warden warden svc up |
Git:
1 2 3 4 5 6 | sudo mkdir /opt/warden sudo chown $(whoami) /opt/warden git clone -b master https://github.com/davidalger/warden.git /opt/warden echo 'export PATH="/opt/warden/bin:$PATH"' >> ~/.bashrc PATH="/opt/warden/bin:$PATH" warden svc up |
We create a WordPress project using warden and docker
Create a folder named example and go to it.
1 2 | mkdir example cd example/ |
Inside the folder we start warden and establish our .env file using the commands:
1 2 | warden svc up warden env-init |
After env-init we have to enter the name of our project: example, and then the project type: wordpress.
We compile our environment with functions:
1 | warden env up -d --build |
In order to be able to use the site correctly, you need to add a certificate using it:
1 | warden sign-certificate example.test |
Now we can go to the SSH of our project example.test
1 | warden shell |
Once we are in shell of our site, we download the latest version of WordPress and unpack and remove the package:
1 2 3 4 5 | wget http://wordpress.org/latest.tar.gz tar xfz latest.tar.gz mv wordpress/* ./ rmdir ./wordpress/ rm -f latest.tar.gz |
We add our website to the /etc/hosts file.
Finally, in order to be able to connect through the browser to our site we need to add our site to the hosts file. Go to the main folder of our system and enter:
1 | sudo nano /etc/hosts |
We add a new line inside the file:
1 | 127.0.0.1 example.test |
We can now connect to our site: https://example.test
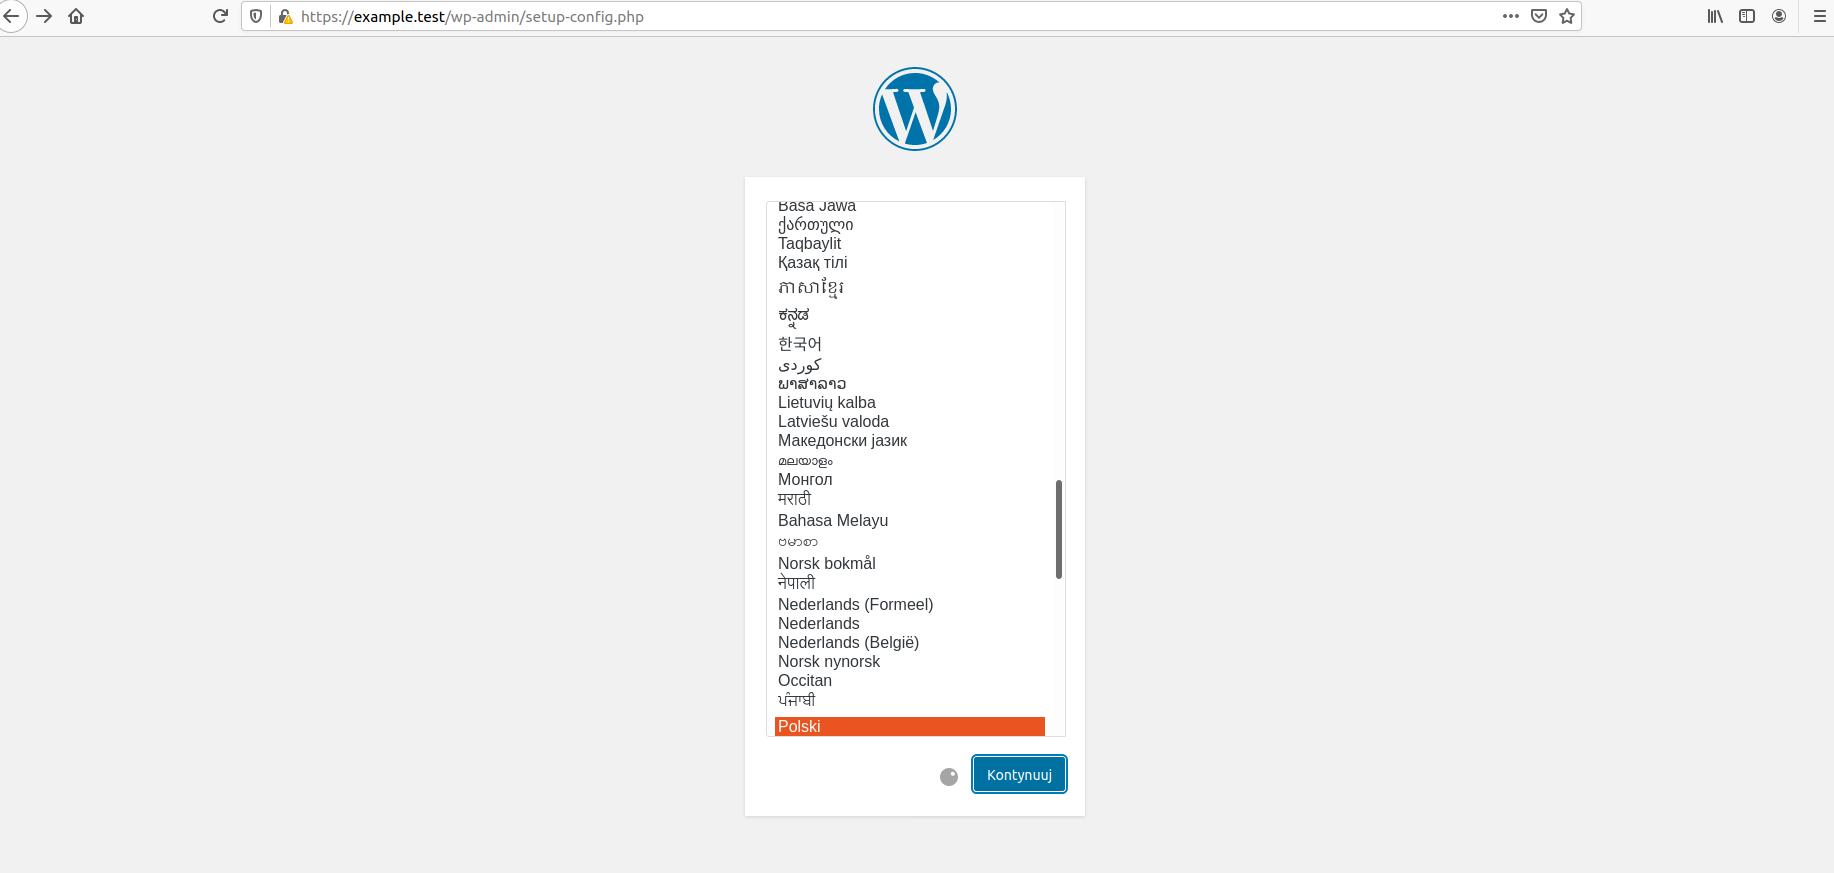
We have received the WordPress configuration view
S WordPress installation
We move on to the installation of WordPress. We will need the data to connect to the database and the host. These are in the .env file in our project folder – example. Go to the project folder and type in:
1 | nano .env |
There are values there:
1 2 3 4 5 6 7 8 9 10 11 12 13 14 15 16 17 18 19 20 21 22 23 | WARDEN_ENV_NAME=example WARDEN_ENV_TYPE=wordpress WARDEN_WEB_ROOT=/ TRAEFIK_DOMAIN=example.test TRAEFIK_SUBDOMAIN=app MARIADB_VERSION=10.4 NODE_VERSION=10 PHP_VERSION=7.4 WARDEN_DB=1 WARDEN_REDIS=0 APP_ENV=local APP_DEBUG=true DB_CONNECTION=mysql DB_HOST=db DB_PORT=3306 DB_DATABASE=wordpress DB_USERNAME=wordpress DB_PASSWORD=wordpress |
Here we have our database name, user name and password under DB_DATABASE, DB_USERNAME, DB_PASSWORD. .
We still need the name of the host. To do this, we enter the command in our console:
1 | docker ps |
We receive a list of our active containers. The host name will be related to the mariadb engine:
1 | 78582457150a wardenenv/mariadb:10.4 "docker-entrypoint.s…" 22 minutes ago Up 22 minutes 3306/tcp example_db_1 |
In our case it is example_db_1.
In the configuration of our WordPress we enter our project data accordingly.

We move on. Add a project name, user name and password. Done, we have received the WordPress project using the docker and warden tool.
Summary
With CLI warden we created the WordPress project using docker. Preparation of the environment is very simple and fast, and with the help of warden we can run several containers with different WordPress projects and they will work locally at the same time without interfering with each other. Warden is quite a little known tool for a docker, but it is very effective and speeds up the process of creating a project environment.
I invite you to read our other articles – Useful articles.