Create a view (template) for a custom post in WordPress
In this tutorial you will learn how to create a view (template) for custom post type in WordPress. In this tutorial I will show you how to create a template for custom post type in WordPress CMS from start to finish. Thanks to such a template we have control over displaying data the way we want. We can easily add CSS styles for a given template and create functionalities that interest us.
What will we need to create a view (template) of the custom post in WordPress?
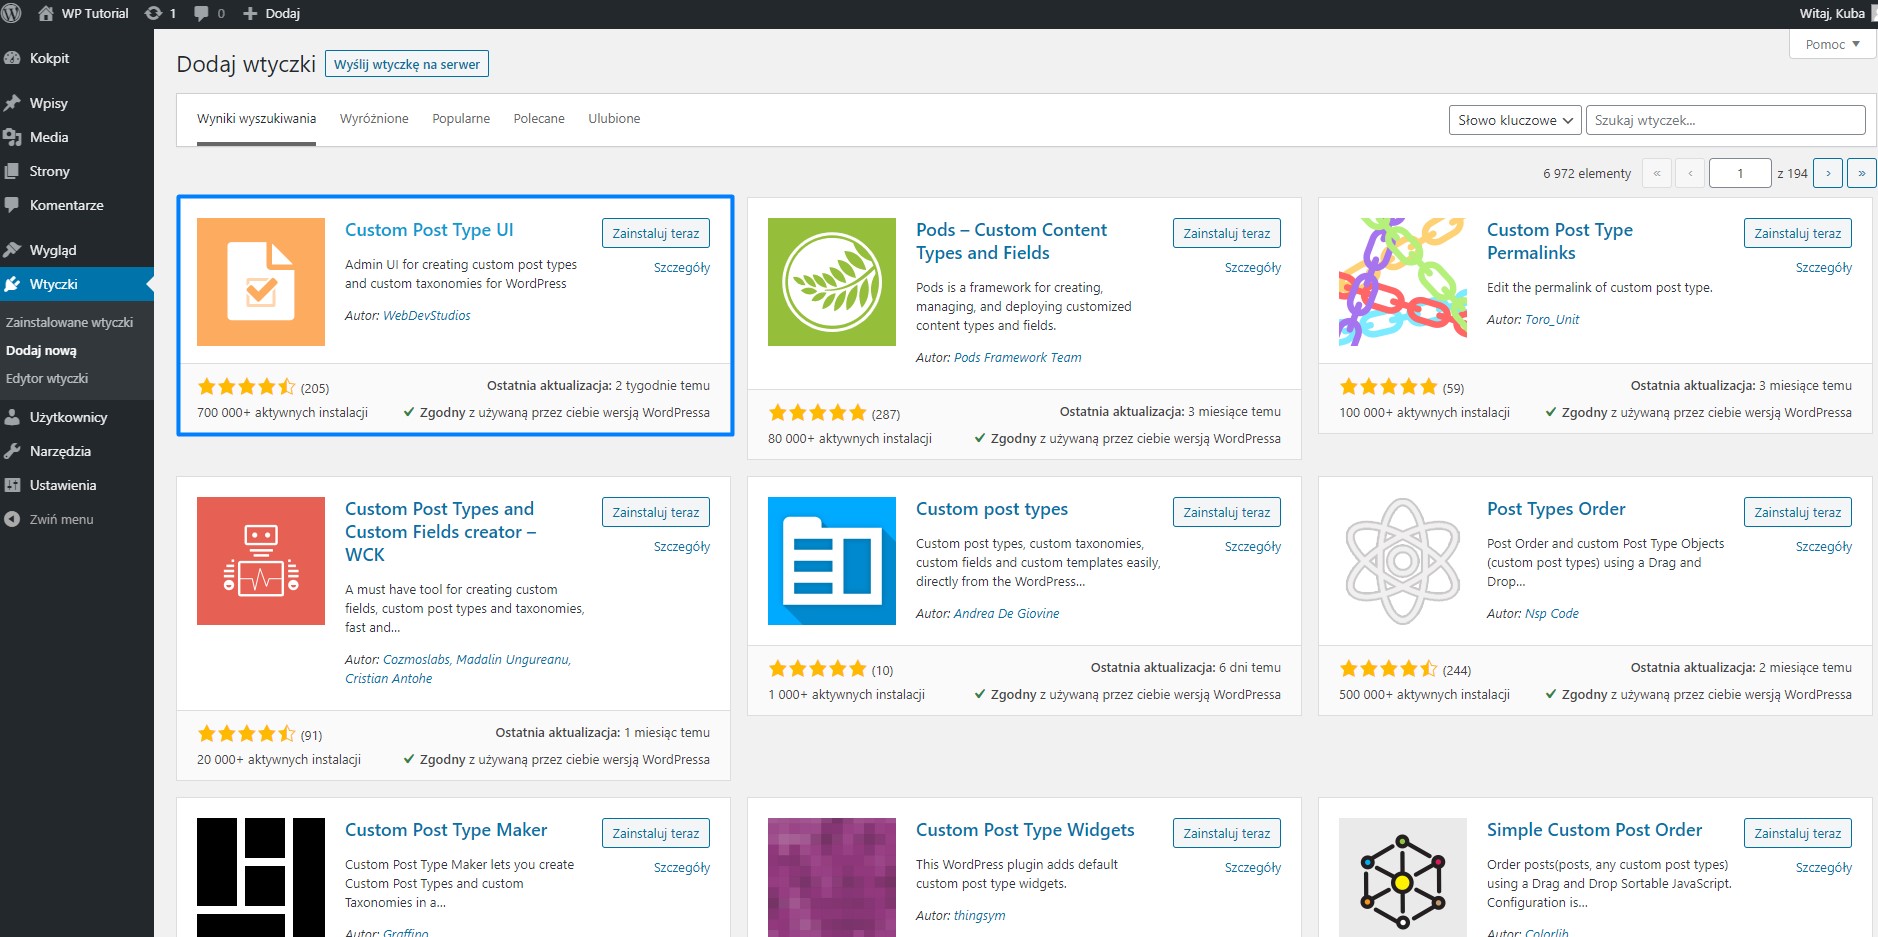
- Plugin CPT UI – Custom Post Type UI – plugin needed to create a custom post available in free WordPress plugins

Let’s get to work! Create a template view for custom post type in WordPress.
After installing the plugin, go to Add/Edit Post Types tab and add the new post type you want to add. It can be any recurring set that we need to create a page. In my case it will be a set of tutorials, which will contain a distinguishing image, title and description.
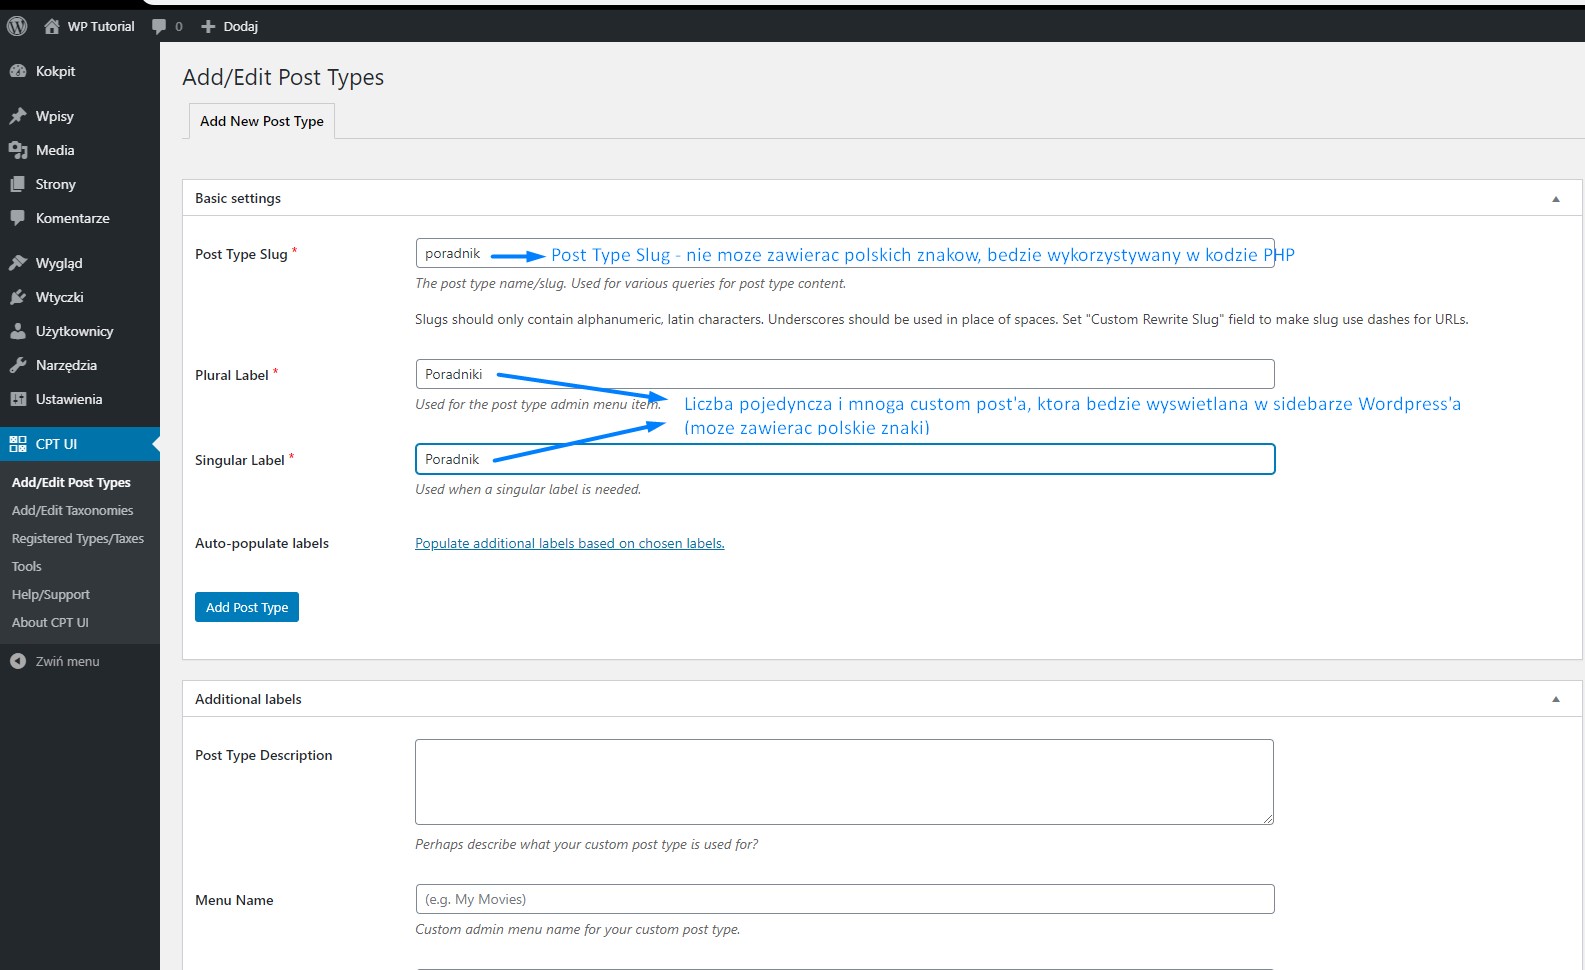
We go to the very bottom of the form and mark the options that interest us, in this case it will be the title, description and distinguishing picture. Confirm your choice with Add Post Type.

On the side panel of WordPress we have a new tab Guides.
Let’s move on to adding several tutorials and then to display a single tutorial.
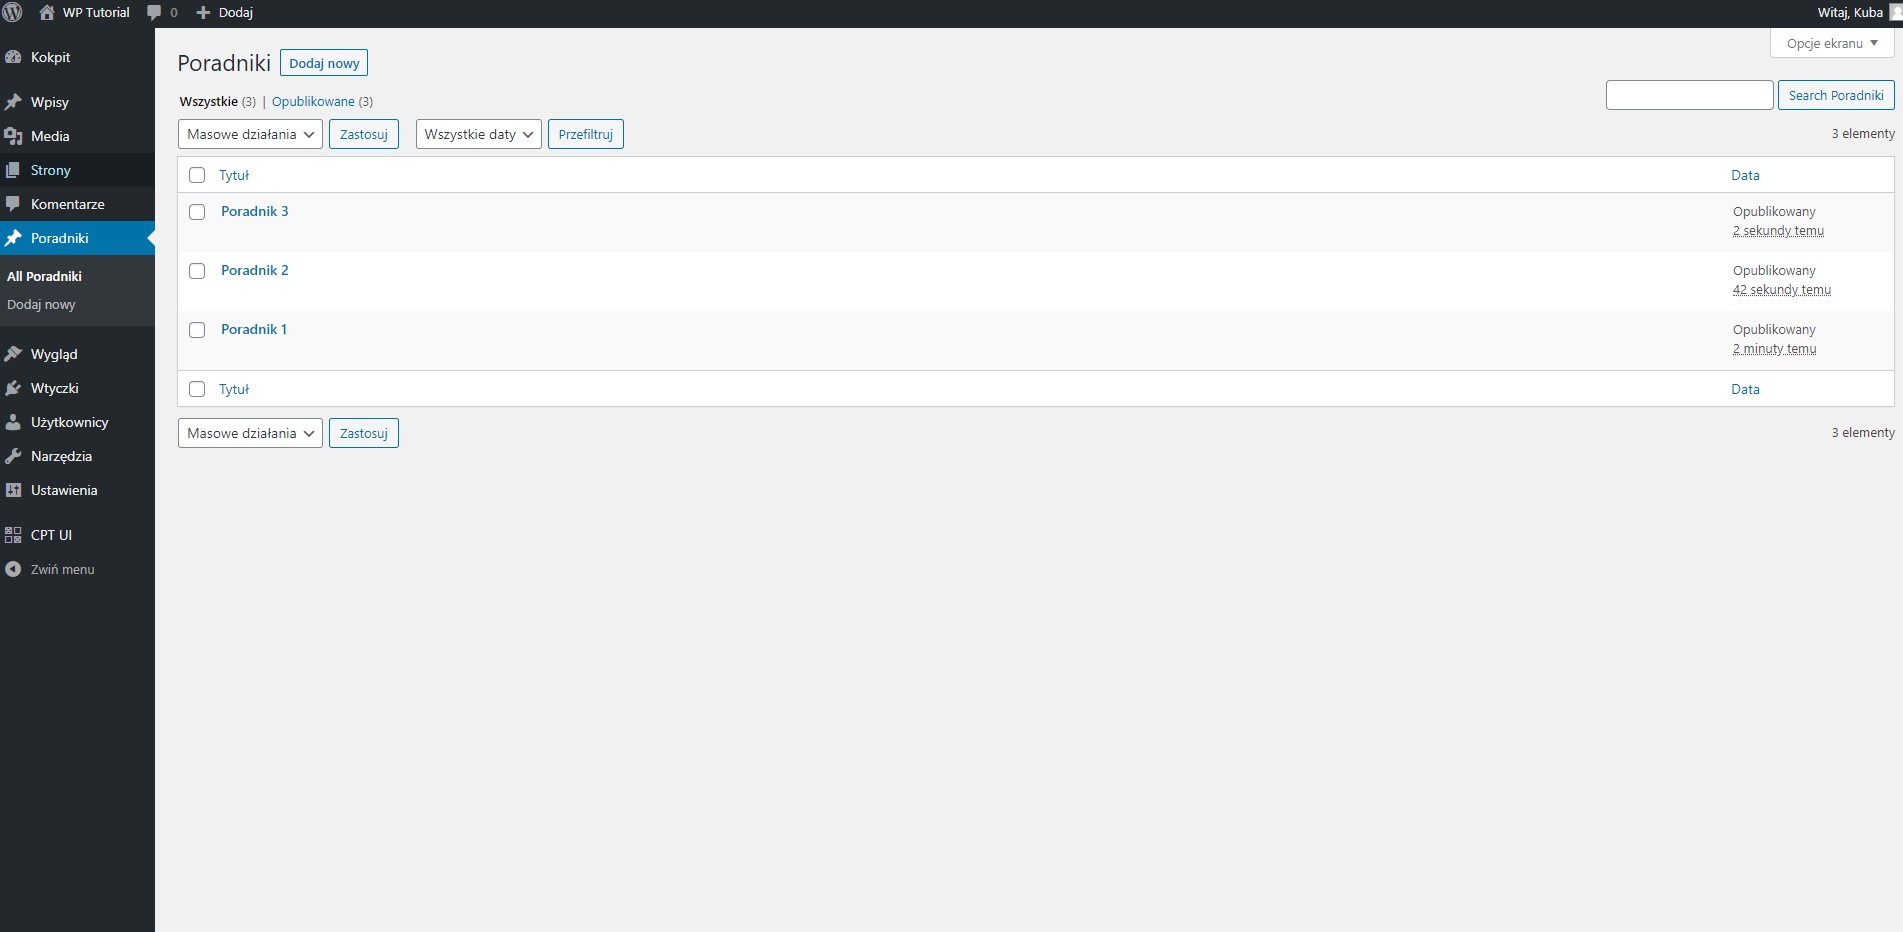
I added 3 tutorials, differing in title, description and picture.
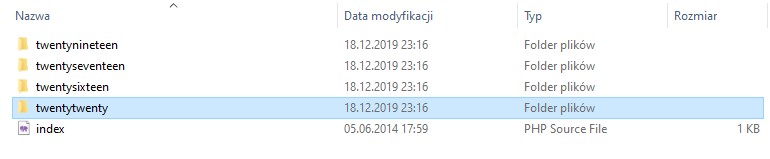
Currently, the appearance of our template for custom post type Tutorial is determined by the theme we use – TwentyTwenty.
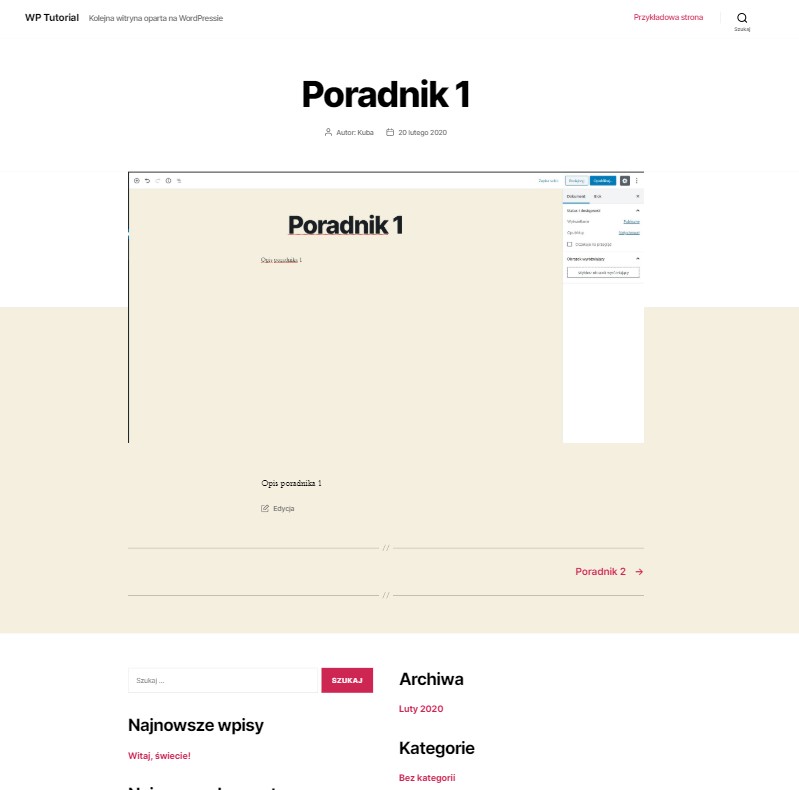
Let’s assume that we don’t like the way the Guide is displayed. We do not want the bottom navigation, author and date. To rule this out only for a particular post type, you need to create a separate PHP file that will handle that post type.
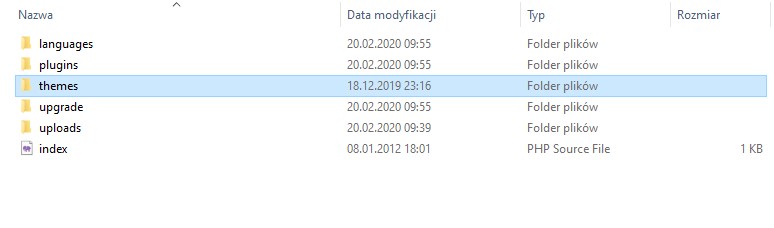
Go to the WordPress theme folder – themes. Then choose your theme, in our case themes.
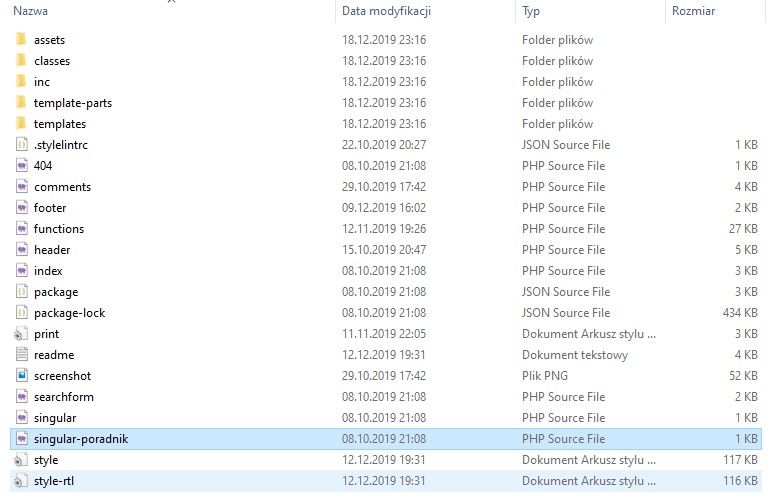
Then find in the folder of our theme the file single.php or in our case singular.php and make copies of it. The name single.php or singular.php depends on the theme we are working on, but usually these files are responsible for handling a single post view.
We rename the copy of singular.php to ‘single-Post Type Slug.php‘. You name the Post Type Slug in the first field when creating Custom Post Type. In our case it will be this: ‘single-padnik.php‘.
Then we go to edit the single-padnik.php file, which contains the code from singular.php and proceed to modify it.
1 2 3 4 | <!--?php if ( have_posts() ) { while ( have_posts() ) { the_post(); get_template_part( 'template-parts/content', get_post_type() ); } } ?--> <!-- #site-content --> <!--?php get_template_part( 'template-parts/footer-menus-widgets' ); ?--> <!--?php get_footer(); ?--> |
To display only what we are interested in, modify the code.
We want to delete the bottom part with the latest entries and display only the contents of the guide and header and footer of our site.
1 2 3 4 5 6 | <?php while ( have_posts() ) : the_post(); ?> <h2></h2> <?php the_content(); ?> <?php the_post_thumbnail( 'full' ); ?> <?php endwhile; ?> <?php get_footer(); ?> |
That’s how we got the view we wanted: Header / Custom Post Type Content / Footer.

Summary
Creating a template for custom post type is easy, while details are important.
- Please try to name your own character type correctly. Naming must be simple, uncomplicated and without Polish characters.
- Reflect on the custom post type structure, what fields you need to display the new post type correctly. (Custom field types for your own post type that are not in the CPT UI tool can be implemented using the Custom Fields plugin, which I will present in the next tutorial.)
- Remember to correctly display the defined fields in the php file. It is important to apply the while() for a single post the_post(). This way we will correctly display all necessary fields.